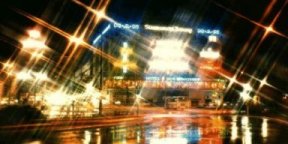
| Open your (16 million color) image. Use the selection tool Shape=circle
Feather=0. Hold down the shift key and make as many circles on the image you want (these
are your raindrops). Do not deselect. |
 |
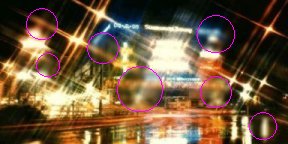 |
Use Image/Blur/Blur More, do this as may time as you like to achieve a
desired effect of looking through water (I did it only one time). |
Next use Image/Effects/Cutout three times, the settings are as follows:
Shadow Color=Black, Opacity=75, Blur=20, V.Offset=4, H.Offset=4
 |
Shadow Color=White, Opacity=90, Blur=10, V.Offset=-4,
H.Offset=-4
 |
Shadow Color=Black, Opacity=100, Blur=10, V.Offset=2, H.Offset=2
 |
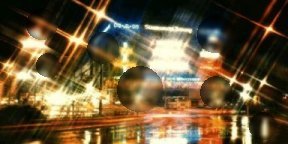
| Promote this image to Layer and then add a new layer. Choose the Paint
brush tool Shape=Round, Size=2 to 3, Opacity=100 and place a small spot of white, for
refraction, at about 2:00, 4:00 7:00 and 10:00 (use a clock as an example) but, you can
put them where ever you want. Now Image/Blur/ Soften More. Now deselect all selections and
merge all layers and you are done! |
 |
Another rained on image.
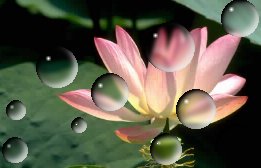 |
Keep the selected circles and experiment with filters or the brightness/contrast or change
the hue so the bubbles pick up faint color. Colors/Adjust/...
Grover
Graphics gave me the idea for this tutorial and I made a few adjustments that I feel
make it a little easier.
|