| Open an image that is no bigger than 255x255 (or edit your image so
that it falls within those parameters). Now we need to select the image. You can either
Edit/Cut then Edit/Paste as Transparent Image, or you can select the magic wand tool and
click on your background, then choose Selections/Invert. |
 |
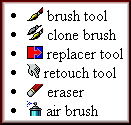
| Click on any tool that will open up the brush tip option. |
 |
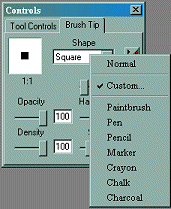
Then choose the brush tip icon to access the tip menu.
Choose Custom from the list. |
 |
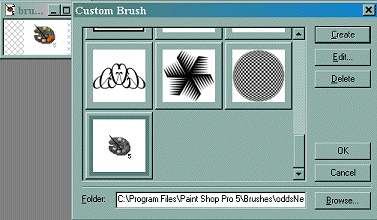
| Next click the Create button and your image will show up in the
browser. |
 |
You can use shaded images or shadows, outlines...
But, remember that custom bush tips are not sizable like normal tips or tubes. The only
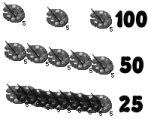
adjustments are Opacity and Step, and can be made in the brush tool control palette. Step
is the amount of space between images when the brush is dragged. For no overlapping set
the step to 100, and 50 if you want your images to overlap by half. Set the default step
for a tip by clicking the Edit button in the Custom Brush Browser. |
 |
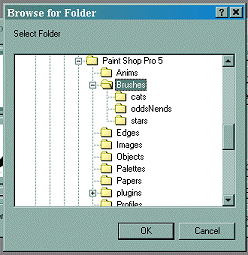
| You may want to organize your brush tips. The file extension for PSP
brush tips is *.jbr. Before you click the Create button you can check to make sure that
your image is going into your desired directory. If it is not selected you can click the
Browse button and select the directory/file you want (JascBrush.jbr is the file that comes
with PSP). As you can see below I have added some files to organize some of my brushes
(\paint shop pro\brushes\cats\, oddsNends\, stars\). To add these files I just went into
Windows Explorer, opened the directory where my PSP; was opened the Brushes folder and
added new sub-folders. The *.abr brush files from Photoshop are compatible with PSP. |
 |
|