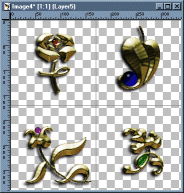
TUBES: | a collection of objects (*.tub file) arranged in rows and columns called cells. (NOTE: the larger the cells, the more memory required.) |
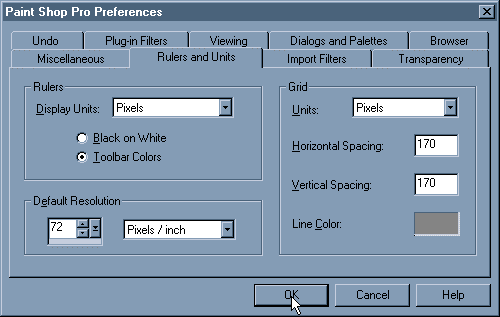
To create your custom tubes you must first set up your work environment. Activate the Rulers and Units preferences menu by going to File/Preferences/General Program Preferences/Rulers and Units. On the Grid options and enter the vertical and horizontal spacing (in pixels) for the value of each cell that your image will fit into. Click OK to close. |
Choose File/New to open a new image and set the dimensions (width x
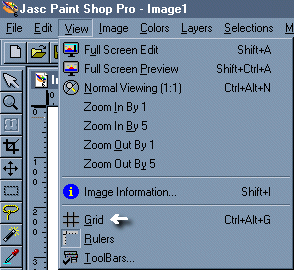
height) in mulitples of the cell horizontal and vertical spacing. For example if your cell is 100 x 100 pixels, you could create a new image 400 x 300 with 4 images across and 3 images down (total of 12 images). Make sure you choose transparent as background color, and click OK. If the grid is not visible in your new image choose View/Grid to display it. |
Now create images that will fit into each of your cells. Remember that if you use layers when making your images, you must go to Layers/Merge Visible before you save/export it. |
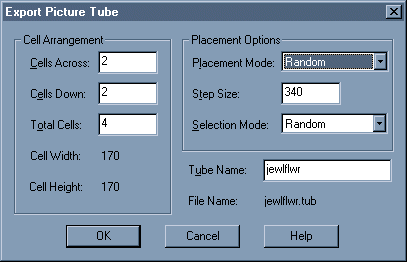
Finally you will want to save your tube by going to File/Export/Picture
Tube.
(Get this tube here. Email me if you have trouble downloading it.) |