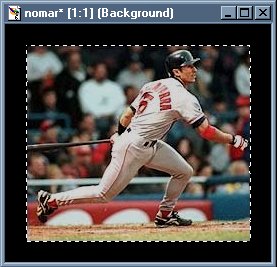
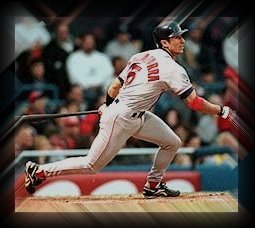
| I started out with a photo (Nomar Garciaparra - Boston Red Sox star shortstop!) and
added a thick border to it. Then I used the magic wand tool and selected the boarder then
choose Selections/Invert so that the photo was selected. |
 |
 |
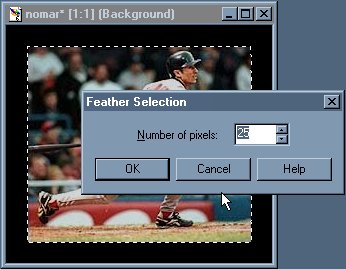
Next I feathered the selection (Selection/Feather = 25). You may need to adjust this.
It depends on what the subject of your photo is and how much space in the photo your
subject takes up. As you will see at the end of this tutorial...I have a photo that the
subject (my cat Slider - yes like the pitch) takes up most
of the space. I about doubled every setting I did here with the photo of Nomar. |
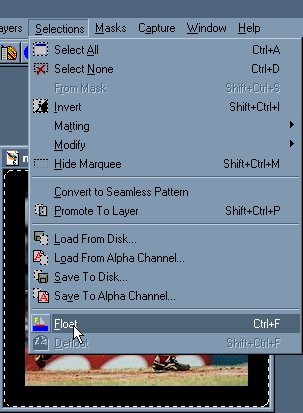
| Now you will need to select Selections/Float. If you don't Float your selection you
will not be able to apply the Defringe. Also by Floating it you will be able to select
your background color later. |
 |
 |
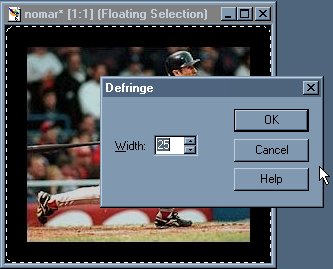
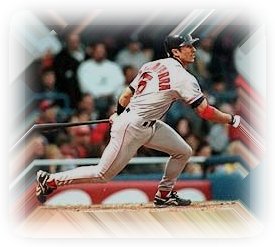
Next you will choose Selections/Defringe = 25. After you get the defringing you want
you can Edit/Copy and then Edit/Paste as New Image. This will give you the image on a
transparent background. From there you can do Layers/Merge/Merge All (Flatten). This will
give you a white background. If you want something else as your background just paste it
as a new selection onto a canvas with that color and Merge. |
 |
 |
 |
 |
