Method 1.
 |
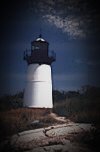
Create or open your mask pattern.
It doesn't matter how big it is,
it will conform to your image when you apply it. |
| Create a new layer on your image. |
 |
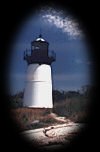 |
On this layer select Mask/New/From Image settings;
Source=name of your mask, Create mask from source luminance,
Invert mask data checked.
Next use the flood fill tool to flood this layer
with the background color of your choice. |
Your mask does not have to be made with the selection tool.
This mask was made with a dingbat font and a little Selection Modification.
It has been expanded by 5 and feathered by 20. |
 |
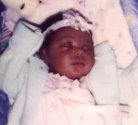
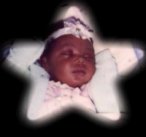
| I used the same method above to apply this mask to a friend's baby. |
BEFORE
 |
AFTER
 |
|
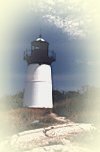
METHOD 2.
Make a selection over your image.
Choose Selections/Modify/Feather and make the feathering large. I did 50 pixels.
Choose Selections/Invert
Set the background to your color choice and click on delete. |
Black background
 |
White background
 |
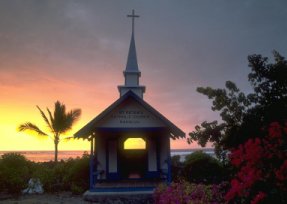
Faint Yellow background
 |
|
METHOD 3.
 |
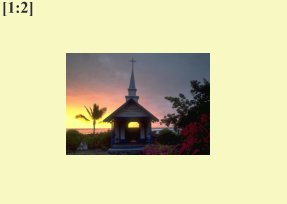
An alternative to this method is the Misty Edge method
Open your (16 million color) image, and make a copy of it. |
| Paste it on a new image twice its size. The color of the mist will be
the background of this new image. Do not deselect once your image is pasted. |
 |
 |
Now choose Selection/Convert to Seamless Pattern,
and there you have it! |
|