| I made this tutorial for PSP5, but now that PSP6 is out you don't have
to go through all these steps to make a nice frame when you have the Frame Effect built
in. The steps used to make the matting that gives it the 3D effect is still useful though.
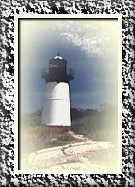
Open your image, I am using a image I made in the Border Tutorial. |
 |
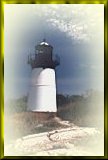
| Next I choose a gold background and apply a border by Image/Add Borders
settings; Symetric checked, 4 pixels each side. |
 |
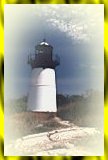 |
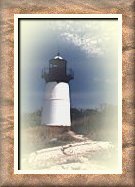
Then I apply Image/Plugins/Filter Factory A/Pool Shadow settings;
default. |
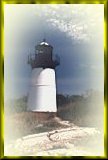
| To finish I buttonize the image by Image/Effects/Buttonize settings;
(experiment) Height and Width=4, Opacity=100, Transparent Edge. |
 |
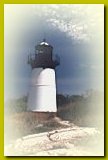 |
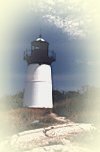
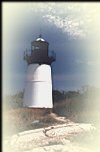
You could have also applied a drop shadow to the image to make it stand
out.
Open your image again and add the border as above.
Then with the magic tool select the border then invert the selection Selections/Invert.
Now add the drop shadow Image/Effects/Dropshadow settings; Opacity=100, Shadow=Black,
Offset both=2 (or half the width of your border).
Then Selections/Invert again. |
| Apply the Pool Filter from Filter Factory A again. |
 |
| And Buttonize as before. |
 |
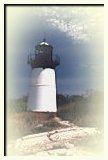
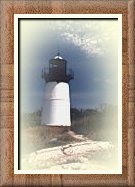
Another way to add a frame is to add a matting and and actual frame.
Open your image again and Selections/Select All.
Apply Image/Effects/Cutout settings; Shadow=black, Opacity=100, Blur=3, Offsets both=2
Then apply a dropshadow Image/Effects/Dropshadow settings; Shadow=white, Blur=1, Offsets
both=1
Deselect the image. |
 |
 |
Next add a border by Image/Add Border with the same settings as above.
Remember to choose your background color before you add the border. I applied a pale
yellow color used in the image. |
Now Edit/Cut. Open a new image with a background of a different color
(it doesn't matter what color). The dimensions should be about 10 pixels more than your
original image, depending on the size of frame you want to make.
Now paste your image in the center. Selections/Invert. |
 |
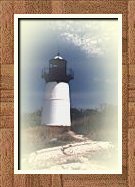 |
Take your flood fill tool set the fill style to pattern or solid color
if you want a solid color and fill your frame. |
Now Selections/Select None.
Finally we will buttonize to give it a beveled effect of a frame. Image/ Effects/Buttonize
settings; Transparent Edge, Opacity=50, Height and Width=10 (experiment). |
 |
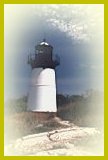
| Here are some other frames... |
|
|
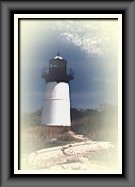 |
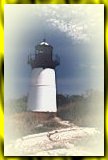
With this image, instead of filling it with a pattern I just buttonized
it.
Then I rotated it Image/Rotate settings; Left, 180 degrees, and I buttonized it again with
the same settings. Finally I rotated it again on the same setting so it was right-side-up.
|
|