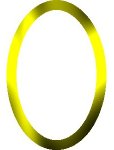
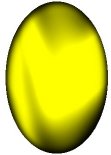
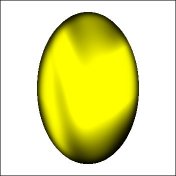
| Open a new image and make an ellipse selection with the selection tool.
Next flood fill it with a mustard yellow color. |
 |
 |
Now choose Selections/Modify/Contract settings; 20 pixels, and with
white selected as the background, hit delete to make this oval ring. |
| Use the magic wand tool and select the ring. Apply the Pool Shadow
filter from Greg's Factory Output vol. II or Filter Factory's A Gallery. |
 |
 |
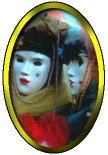
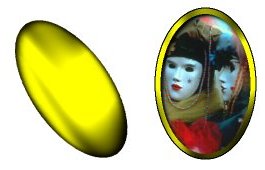
Now open your image and make an ellipse selection the same size as your
original minus 20 to correct for the amount you contracted it
by, then Edit/Copy it. |
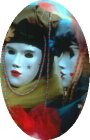
| Paste your image into the center of your frame and keep it selected. |
 |
 |
Apply Image/Effect/Cutout settings; Shadow=black, Opacity=100, Blur=10,
Offsets Both=5. This will give the illusion that the image is sitting back into your
frame. |
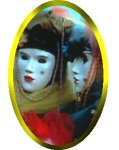
| This next step is optional. I wanted to add a sharper edge so I
selected my image, then inverted the selection (Selection/Invert). I then flood filled it
with black. Next I inverted the selection again (image is now selected), and
Selection/Modify/Expand settings; 1 to 2 pixels. I inverted AGAIN (background now
selected), and with white selected as a background color I hit delete. |
  |
| |
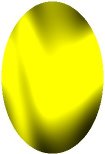
Now we need to make the cover for our locket, so make another ellipse
selection and flood fill it with the mustard color the EXACT same way as the original
ellipse. |
| Add the pool filter shadow... |
 |
 |
Then apply the cutout filter twice (Image/Effect/Cutout) first
settings; Shadow=black, Opacity=100, Blur=15 to 20, Offsets Both=5. The second settings
change only the Offsets to -5. |
| Next we will add a deformation filter so we need to enlarge the area we
have to work in so add a white border by about 25 or more on all sides (Image/Add Borders
settings; Symmetric selected, 25 pixels). Note: in order for your borders to be white you
must select it on the color pallete. |
 |
 |
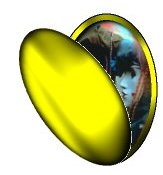
Now select Image/Deformation/Skew settings; Vertical=0, Horizontal= -25 to -45 depending on how Open you want your locket to be.
|
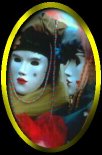
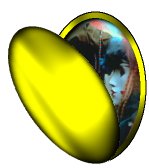
| Now open a new image with a white background. Make it large enough for
you to work in... Now paste the image of your photo in the frame. Next paste the image of
the locket cover (Edit/Paste as Transparent). |
 |
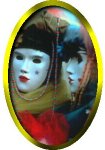
| Move your cover into position over the photo until you have the desired
effect of an opening locket. |
 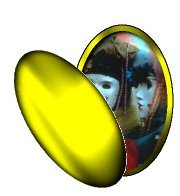 |
| You may notice white etched marks where the cover overlaps the photo.
Use the Zoom tool to enlarge the area so you can see every pixel. Next use the color
selection tool (eye dropper), and pick up some color around the white pixels. Now switch
back to the paint brush tool settings; Size=1, Shape=square, Texture=None, Opacity=100,
and color in the white or light (out of place) pixels. Keep repeating this. |
 |
 |
The color does not have to be exact but close enough that when you zoom
out it will look blended. |
|