| Open a bright yellow 200x200 24 bit image. |
 |
 |
Set the foreground color to white, select the line tool and draw a 1
pixel wide line as shown below. |
| With the magic wand select the lower half of the image below the white
line. Select the Flood Fill tool: Mode=RGB Mode, Tolerance=0, Fill=Solid Color. Click
anywhere in the lower part of the image to fill it with white |
 |
 |
Select a darker shade of yellow. Select the Paint Brushes tool:
Brush=Normal, Size=1, Shape=Round, Texture=None, and draw a semi-circle from the lower
corner as shown below. |
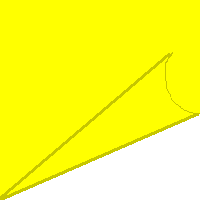
| Select the Line tool: Width=3. Draw a line from the top of the circular
line to the lower corner of the image. Draw another line from the lower corner of the
yellow area to the lower corner of the image as shown below. |
 |
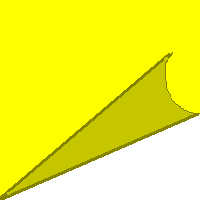 |
Now select a color between the two yellows. Fill in the area between
the two lines, to give the note a shadow effect. |
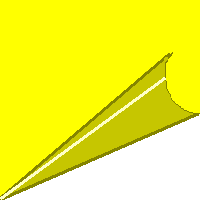
| Choose a really pale shade of the yellow (almost white). Select the
Line tool and draw a line from the circular line to the lower corner of the image. |
 |
 |
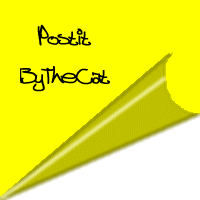
Choose Image/Blur More-twice to give the curl a soft blend. Select the
Magic Wand tool and select the curl. |
| Now you can add text or an image to make it your own... |
 |
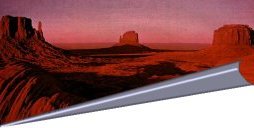 |
You could try this with a photo. Selecting the areas to flood fill are
a little more difficult, you may have to do a section at a time and adjust the tolerance
on your magic wand tool. I started the roll in shades of gray, but after I was finished I
adjusted the RBG values to give it this blue tone. |
|