| Open a new image to fit your text. I used a light color and the
NightSky text. Apply your text then deselect it. |
|
 |
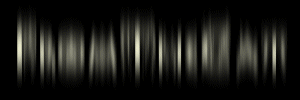 |
Now apply Image/Blur/Motion Blur settings; angle=0 degrees, pixels=20,
and apply 2 to 3 times (depending on the thickness of your text). Next promote this to
layer. |
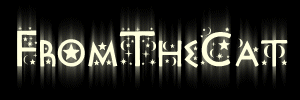
| Add a new layer and apply the same text again in the same place. You
could stop here, or for more of a glow continue... |
 |
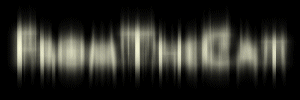 |
Now blur again but apply Image/Blur/Gausian Blur settings; radius=5.00 |
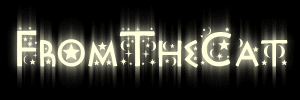
| Create another new layer and apply the same text again, and you are
finished. |
 |
Some alterations you could do is...
| Add Image/Effects/Cutout settings; Shadow=foreground (choose a color
darker than your text), Blur=2 to 3, Both Offsets=-1 to -2. |
 |
 |
This image I did not follow through with the Gausian Blur, but did
apply the cutout. |
| With this image since my font was so thick (and to make the image a
little dreamier), I applied the Motion Blur with pixels set to 40. I did this
twice. Then I applied the Gausian Blur, three times on the settings already mentioned
above. I also applied the cutout on this image to make the text stand out. |
 |
|